A micromount mineral (or simply micromount) is a very small mineral specimen that is mounted and usually examined under a microscope. These specimens are typically too small to be appreciated or identified with the naked eye, but they often display excellent crystal form, color, and perfection when viewed at magnification. (Micromount definition, Wikipedia)
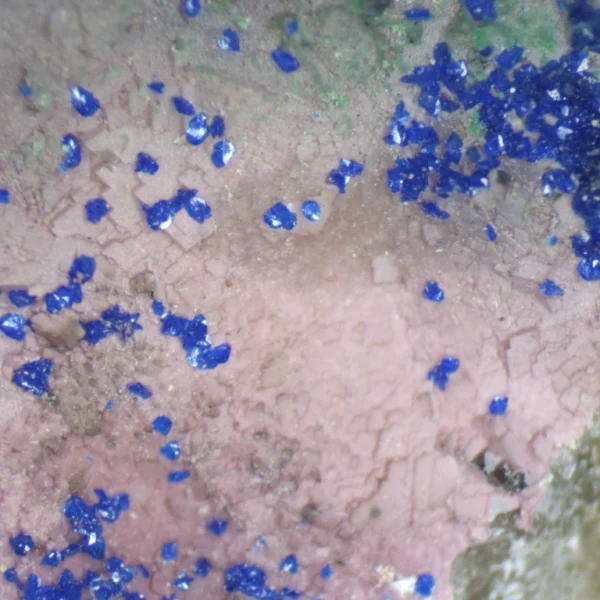
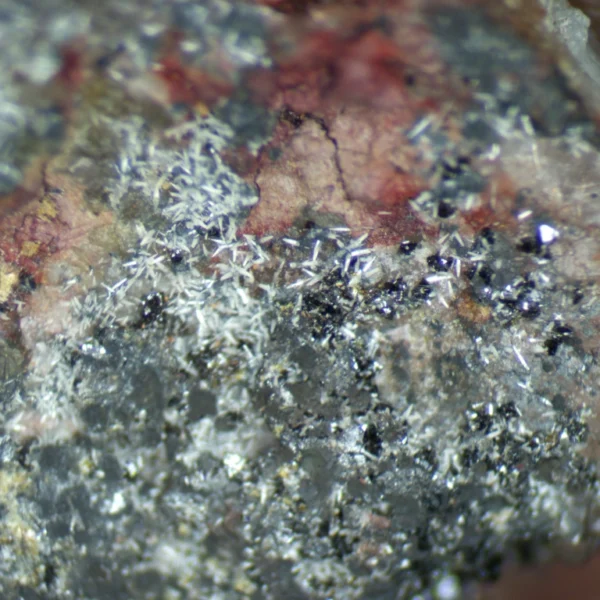
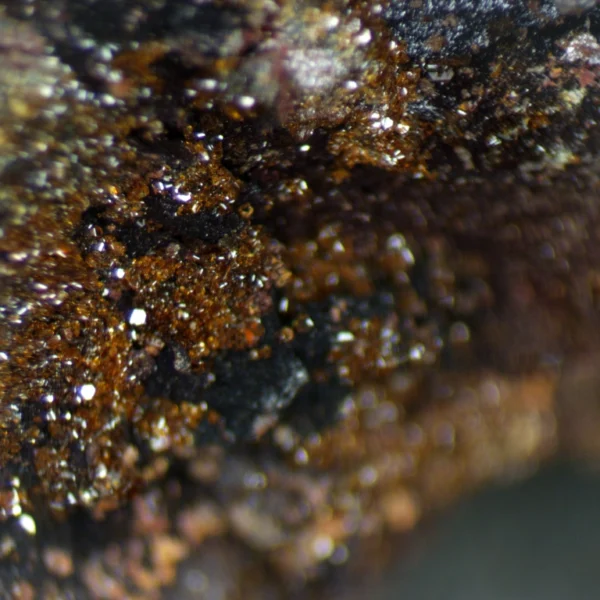
Micromount minerals are essential to mineralogy because many species never form visible macrocrystals, revealing their beauty only under magnification.
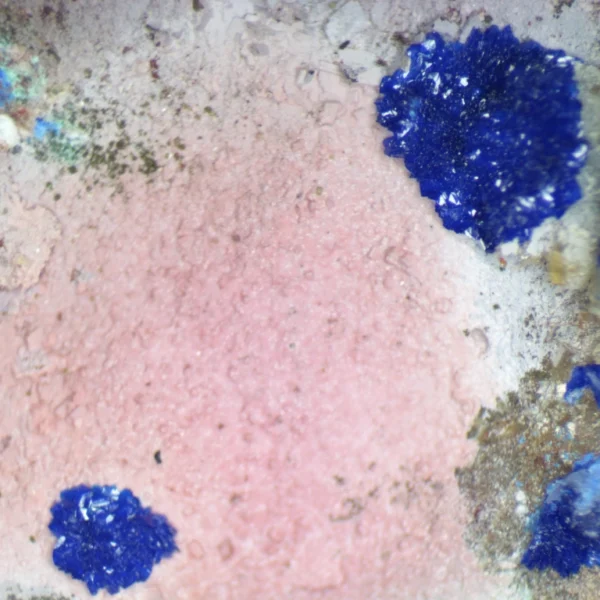
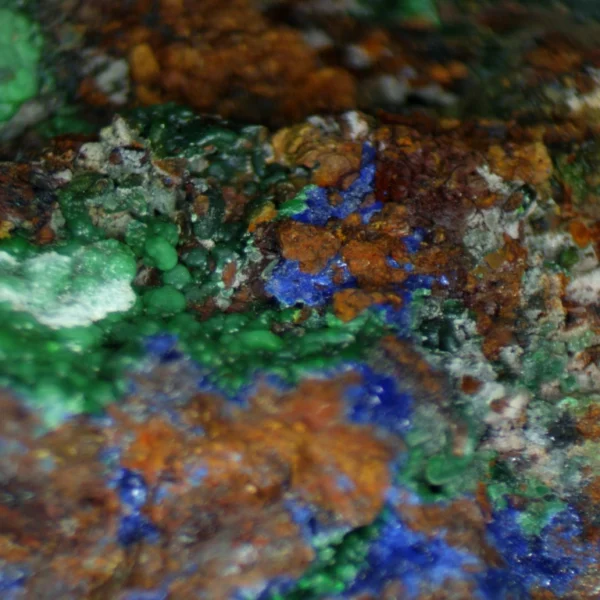
Micromounts allow collectors to study perfect crystal forms that are too small to appreciate with the naked eye.
A proper micromount preserves delicate specimens, preventing damage and ensuring long-term stability.
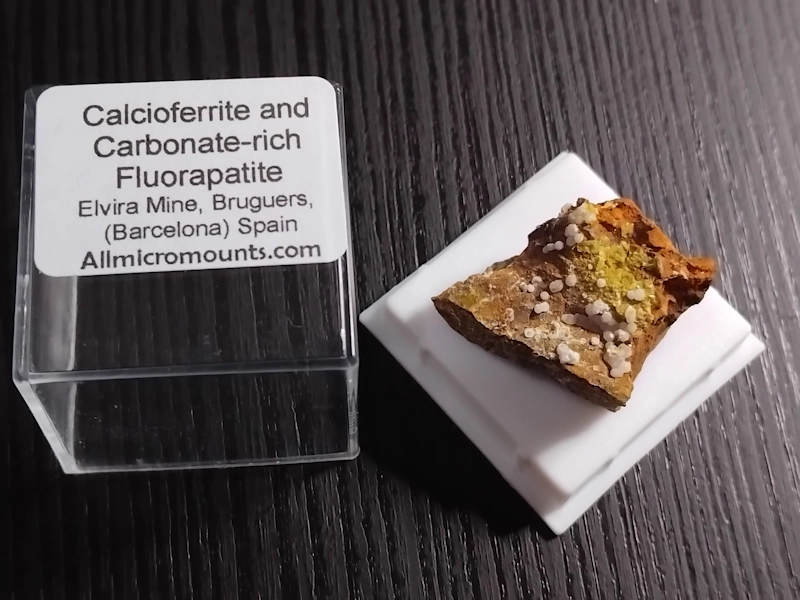
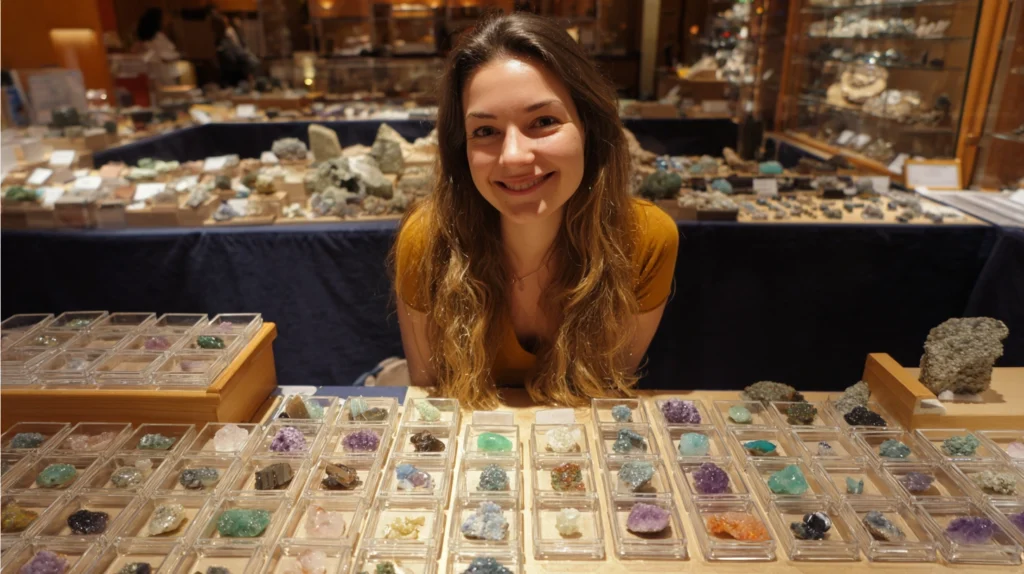
At Allmicromounts, every micromount is prepared to showcase the specimen from the best mineralogical point of view.
We craft every micromount with precision, always positioning the specimen for optimal viewing.
You can easily recognize our pieces by the Allmicromounts label, your guarantee of quality and careful preparation.
Step into the fascinating universe of micromount minerals, where every tiny crystal tells a big story.

Discover the hidden beauty of micromount minerals with a micromounts collection that turns tiny crystals into big wonders.
Unveil a world of brilliance with a micromount minerals collection that transforms tiny specimens into extraordinary treasures.
Enhance your micromounts collection with a pro tip: collect minerals from the same mineral family to uncover their subtle differences.
At AllMicromounts.com, you can explore minerals perfectly sorted by family, making it effortless to build a focused, meaningful collection.
Share your Allmicromounts | micromount shop with your friends
Check out our New Arrivals, featuring the latest premium specimens added to the shop. Be the first to secure the latest treasures before they’re gone!
Our Featured Picks is a selection of minerals and micromount chosen for their exceptional character and desirability. These highlighted pieces often sell quickly thanks to their quality and provenance.
If you’re unsure where to start, this section points you straight to collector-approved favorites.
Browse our mineral shop and enjoy a seamless, curated experience. Every specimen is organized by location, country, mineral family, color, tags, and keywords, so you can find your ideal piece in seconds.
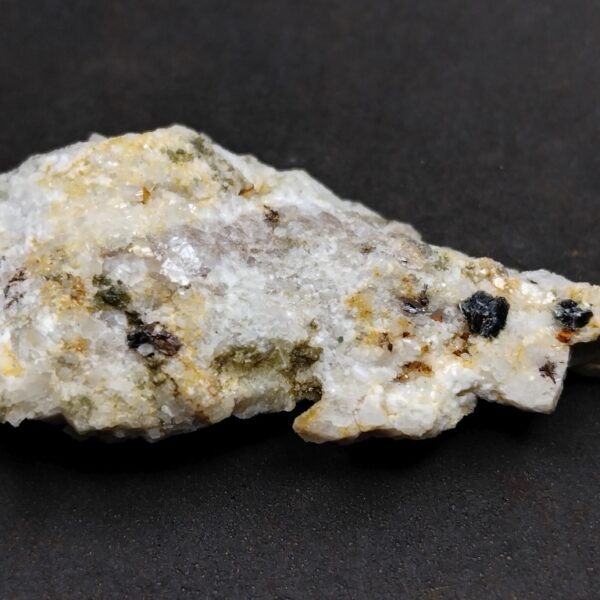
In our shop, you’ll also find a selection of beautiful minerals offered non-micromounted.
Some pieces are simply too large to mount, while others are covered in delicate crystals.
Certain specimens are too big, or feature crystal clusters too intricate to mount safely.
To protect their integrity, we keep them just as they are.
Visit our shop and discover minerals kept in their pure, natural state.

Many mineral collectors focus on specimens from specific countries or famous localities.
Some areas are legendary among collectors, producing crystals of exceptional size or clarity.
Mineral collections organized by country or locality highlight the geological diversity of specific regions. They allow collectors to trace how unique environmental conditions create distinct mineral species and formations.
By building country-based collections, enthusiasts gain both scientific and cultural insights.
Overall, locality-based collections offer both scientific insight and storytelling through place.
Browse our shop by country to easily locate minerals from historic and sought-after localities. Elevate your collection with authentic, origin-verified pieces from around the globe.